Dithering like riso
Definitely open to additional ideas!
can we mimic riso printing in rgb?
There is no way to fully mimic the magic of risography in this land of RGB (and CMYK, for that matter). But I love its aesthetic, and I have been gesturing toward that for years, by dithering all my images in GIMP before adding them here.1
Now, I want to make this stuff look a bit more riso-ish. It won’t be perfect! And we will still be locked into the world of RGB. Here are the two main things I have in mind:
- My old index/dithering method1 is nice in that it uses a limited number of colors to create the image, but it doesn’t have them overlap or mix - it is just pixels appearing to mix by being in close proximity. Riso do way more with just two colors than dithering can, and that opens up creative possibilities significantly.
- I love the registry imperfections that you see in real prints, where the color-layers are just that little bit off…
I don’t feel like I need to reinvent the wheel, here. In addition to GIMP, which is free, we can also use Spectrolite, which is built expressly for this purpose, to get us pretty close. All we need to do is take the image preview from Spectrolite and make some adjustments to mimic the little artifacts found in actual printed matter.
how-to
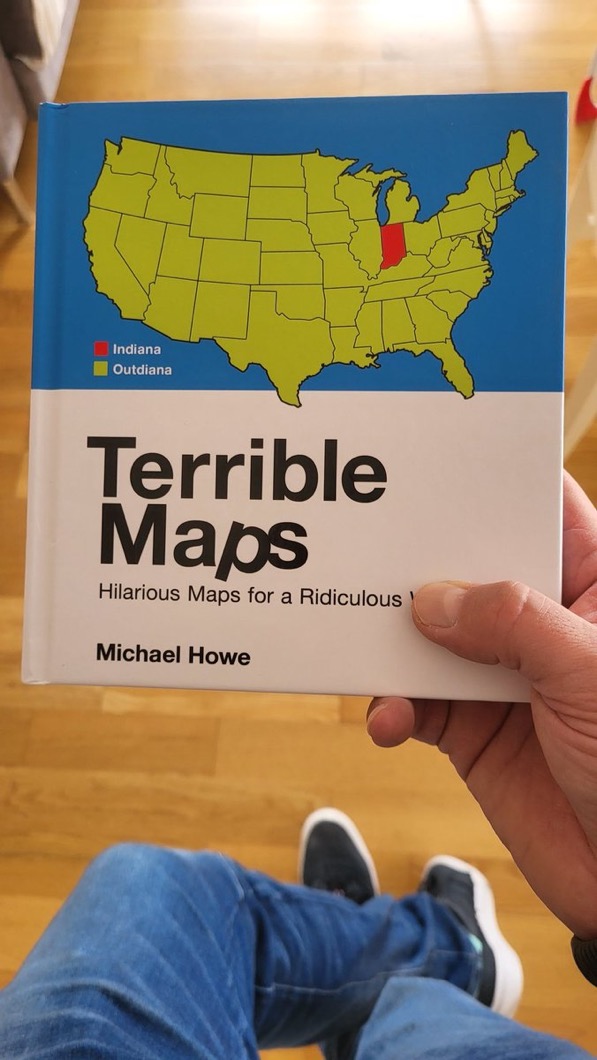
Here’s the image we will use as an example:
If you just choose two colors from one of the palettes shown in Spectrolite, then create a color palette in GIMP, and then have it use that palette to dither1 the image, this is what you get - it’s incomprehensible, as it doesn’t mix the colors together the way a riso printer would:
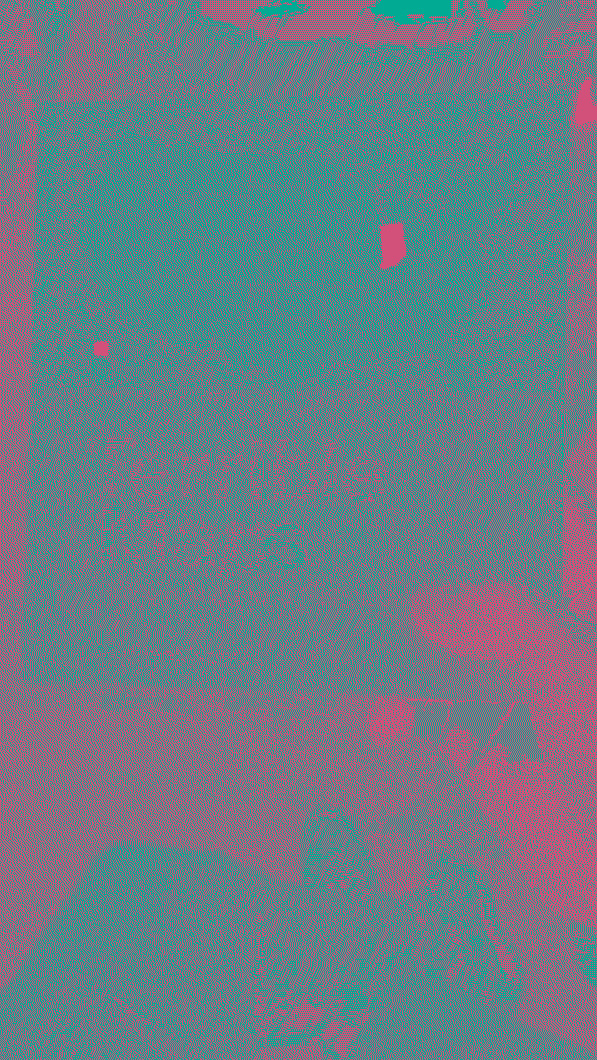
And, if you have GIMP select the optimal two-color palette, it is often not an interesting look:
Here’s what we will do instead:
- Choose a color palette that interests you in Spectrolite, and select it
- Go to the canvas in Spectrolite and upload your image. (Try out “Halftone” rather than “Regular” for added texture - I think it is nice on high-res images, and when you offset later you can make big changes.)
- Click “RISO-ify” and then, after making edits to the settings/palette as desired, “Export”
- In GIMP, open up the composite image from Spectrolite.
- Make one copy (as new layer) of it for each color in the palette (i.e., two duplicated layers for a two-color palette)
- For each duplicated layer, go to Colors>Color to Alpha… and then remove one of the palette colors from the layer, getting the hex code from the Palette pane in Spectrolite. (The layering of color, here, also mimics the saturated colors so often used in riso printing. RGB can often go a little farther than CMYK, after all.)
- To mimic slight registration issues, select one or two of the layers and shift them horizontally a few pixels, for example 5px to the right. Go to Layer>Transform>Offset… to do this.
- Play with the order of the layers - it does matter! (Try setting the layers to “Lighten Only - if you do, merge the lower payers first in the next step…) Then, merge the layers down, one at a time. Feel free to make other adjustments here, if needed, for example toning down the saturation, or scaling down the image (if the image is high-res, you might not be able to perceive the dithered texture).
- Then go to Image>Mode>Indexed, and select “Generate optimum palette,” undoing and repeating until you find the right number for what you are looking for (but it will likely be more than two)
- Save it as a png
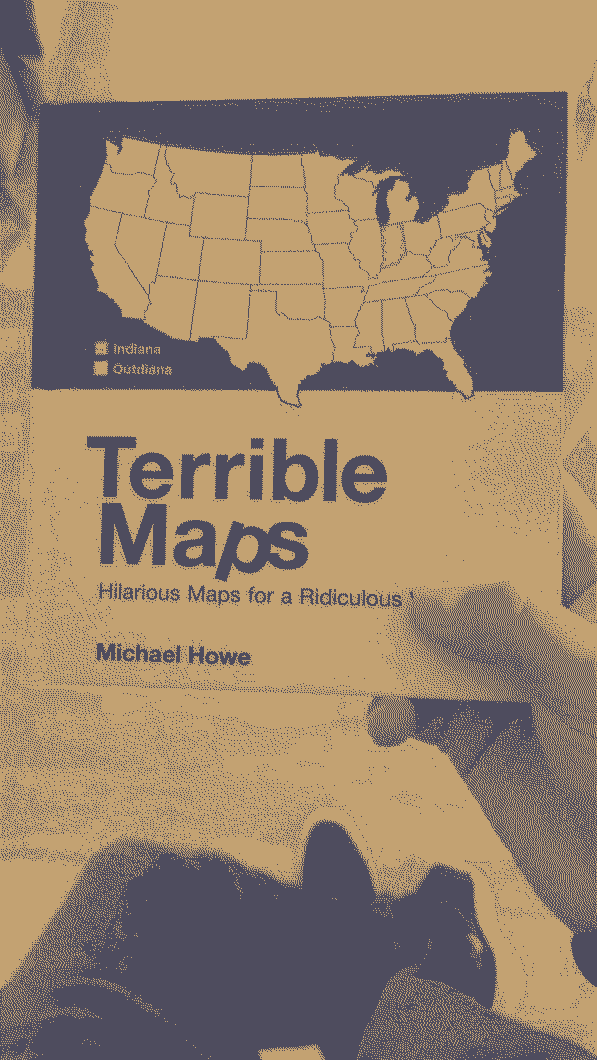
Here’s the composite/preview from Spectrolite:
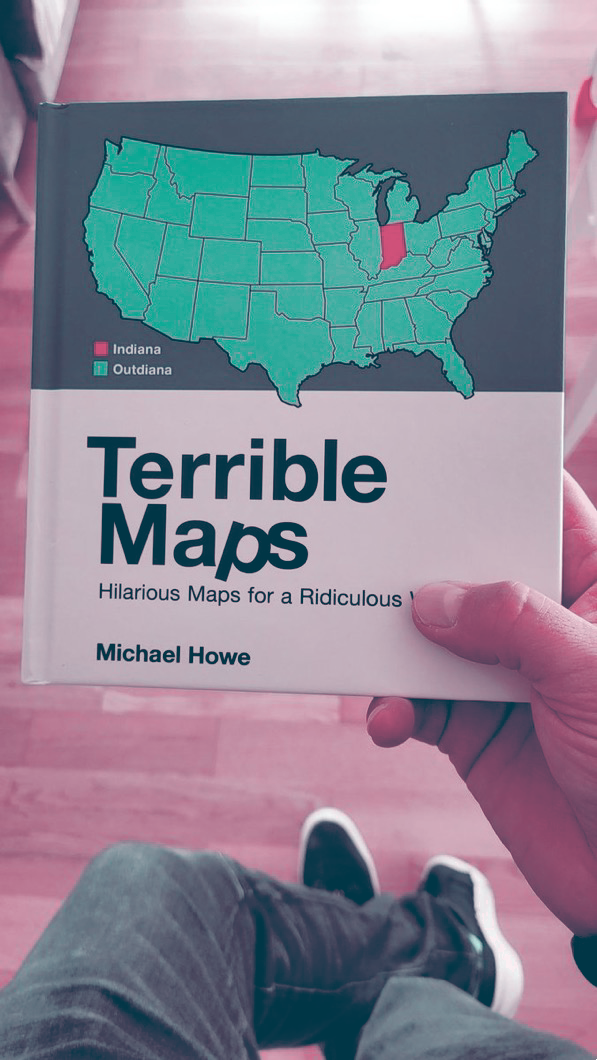
Here’s where I landed in my example, using Turquoise and Cranberry:
I like it. And I’ve used this technique on my latest photo post (as of the original posting of this wiki page), “Little Things: Ridgewood.”

-
The old process, used on most images found on this site, is: 1) if needed, increase saturation a little, 2) reduce image size to ~1000px max, 3) in GIMP, go to Image>Mode>Indexed… and then in the dialog box either set a select number of colors (which can be fun!) or my favorite preselected palette has been Paintjet (because of all its little errors). You can stop there, or, for the purposes of this website, I do one last thing: go to Colors>Color to Alpha… and then remove all black from the image. After that I save it as a png to preserve transparency. ↩︎ ↩︎ ↩︎